The official Mender documentation explains how Mender works. This is a board-specific complement to the official documentation.
Board description
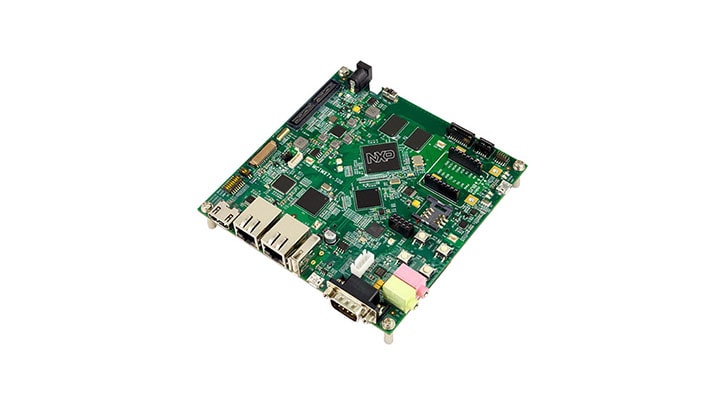
The Smart Application Blueprint for Rapid Engineering (SABRE).
Test results
The Yocto Project releases in the table below have been tested by the Mender community. Please update it if you have tested this integration on other Yocto Project releases:
| Yocto Project | Build | Runtime |
|---|---|---|
| warrior (2.7) |  |
|
Build Means that the Yocto Project build using this Mender integration completes without errors and outputs images.
Runtime Means that Mender has been verified to work on the board. For U-Boot-based boards, the integration checklist has been verified.
Getting started
Prerequisites
- A supported Linux distribution and dependencies installed on your workstation/laptop as described in the Yocto Mega Manual
- NOTE. Instructions depend on which Yocto version you intend to use.
- Google repo tool installed and in your
PATH.
Configuring the build
Setup Yocto environment
Set the Yocto Project branch you are building for:
# set to your branch, make sure it is supported (see table above)
export BRANCH="warrior"
Create a directory for your mender-nxp setup to live in and clone the
meta information.
mkdir mender-nxp && cd mender-nxp
Initialize repo manifest:
repo init -u https://github.com/mendersoftware/meta-mender-community \
           -m meta-mender-nxp/scripts/manifest-nxp.xml \
           -b ${BRANCH}
Fetch layers in manifest:
repo sync
Setup build environment
Initialize the build environment:
source setup-environment nxp
NOTE! You need to accept the Freescale EULA at ‘…/sources/meta-freescale/EULA’. Please read it and in case you accept it, add:
ACCEPT_FSL_EULA = "1"
in your local.conf.
Configure Mender server URL (optional)
This section is not required for a successful build but images that are generated by default are only suitable for usage with the Mender client in Standalone deployments, due to lack of server configuration.
You can edit the conf/local.conf file to provide your Mender server configuration, ensuring the generated images and Mender Artifacts are connecting to the Mender server that you are using. There should already be a commented section in the generated conf/local.conf file and you can simply uncomment the relevant configuration options and assign appropriate values to them.
Build for Hosted Mender:
# To get your tenant token:
#    - log in to https://hosted.mender.io
#    - click your email at the top right and then "My organization"
#    - press the "COPY TO CLIPBOARD"
#    - assign content of clipboard to MENDER_TENANT_TOKEN
#
MENDER_SERVER_URL = "https://hosted.mender.io"
MENDER_TENANT_TOKEN = "<copy token here>"
Build for Mender demo server:
# https://docs.mender.io/getting-started/create-a-test-environment
#
# Update IP address to match the machine running the Mender demo server
MENDER_DEMO_HOST_IP_ADDRESS = "192.168.0.100"
Building the image
You can now proceed with building an image:
MACHINE=imx7dsabresd bitbake core-image-base
Replace core-image-base with your desired image target.
Using the build output
After a successful build, the images and build artifacts are placed in tmp/deploy/images/imx7dsabresd/.
-
tmp/deploy/images/imx7dsabresd/core-image-base-imx7dsabresd.sdimg -
tmp/deploy/images/imx7dsabresd/core-image-base-imx7dsabresd.mender -
tmp/deploy/images/imx7dsabresd/u-boot.imx
The disk image (with .sdimg suffix) is used to provision the device storage for devices without Mender running already. Please proceed to the official documentation on provisioning a new device for steps to do this.
On the other hand, if you already have Mender running on your device and want to deploy a rootfs update using this build, you should use the Mender Artifact files, which have .mender suffix. You can either deploy this Artifact in managed mode with the Mender server (upload it under Releases in the server UI) or by using the Mender client only in Standalone deployments.
Flash instructions
Based on the output artifacts described above we need to flash the core-image-base-imx7dsabresd.sdimg separately to fully provision an device and for it to work with Mender.
Required software on the host PC:
- bmaptool
sudo apt install bmap-tools
Load image to sd card
$ sudo bmaptool copy core-image-base-imx7dsabresd.sdimg /dev/sdX
Load the u-boot.imx in sd card
$ sudo dd if=u-boot.imx of=/dev/sdX bs=1k seek=1; sync
References
- The sources of the Yocto integration can be found in meta-mender-community/meta-mender-nxp
If this post was useful to you, please press like, or leave a thank you note to the contributor who put valuable time into this and made it available to you. It will be much appreciated!