The official Mender documentation explains how Mender works. This is simply a board-specific complement to the official documentation.
Board description
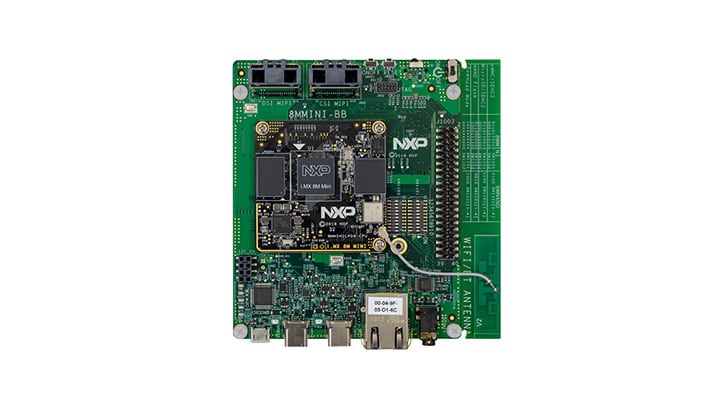
The i.MX 8M Mini EVK provides a platform for comprehensive evaluation of the i.MX 8M Mini and i.MX 8M Mini Lite applications processors. It delivers high performance with power efficiency, multimedia interfaces, and Wi-Fi/BT for connectivity out-of-the box.
The two-board solution consists of a compact 2”x2”compute module and a larger base board that brings out the broad connectivity that is needed for product evaluation. The compute module is a proven, compact reference to accelerate your own design.
URL: Vendor board specs
Test results
The Yocto Project releases in the table below have been tested by the Mender community. Please update it if you have tested this integration on other Yocto Project releases:
| Yocto Project | Build | Runtime |
|---|---|---|
| sumo (imx-4.14.98-2.0.0_ga) |  |
 |
| zeus (imx-5.4.3-2.0.0_demo_mender) | |
|
Build Means that the Yocto Project build using this Mender integration completes without errors and outputs images.
Runtime Means that Mender has been verified to work on the board. For U-Boot-based boards, the integration checklist has been verified.
Getting started
Prerequisites
- A supported Linux distribution and dependencies installed on your workstation/laptop as described in the Yocto Mega Manual
- NOTE. Instructions depend on which Yocto version you intend to use.
- Google repo tool installed and in your
PATH.
Configuring the build
Setup Yocto environment
Create a directory for your mender-imx setup to live in and clone the
meta information.
mkdir mender-imx && cd mender-imx
Initialize repo manifest:
repo init -u https://source.codeaurora.org/external/imx/imx-manifest -b imx-linux-sumo -m imx-4.14.98-2.0.0_demo_mender.xml
Fetch layers in manifest:
repo sync
Setup build environment
Initialize the build environment:
DISTRO=fsl-imx-xwayland MACHINE=imx8mmevk . fsl-setup-mender.sh -b build
Configure Mender server URL (optional)
This section is not required for a successful build but images that are generated by default are only suitable for usage with the Mender client in standalone mode, due to lack of server configuration.
You can edit the conf/local.conf file to provide your Mender server configuration, ensuring the generated images and Mender Artifacts are connecting to the Mender server that you are using. There should already be a commented section in the generated conf/local.conf file and you can simply uncomment the relevant configuration options and assign appropriate values to them.
Build for Hosted Mender:
# To get your tenant token:
#    - log in to https://hosted.mender.io
#    - click your email at the top right and then "My organization"
#    - press the "COPY TO CLIPBOARD"
#    - assign content of clipboard to MENDER_TENANT_TOKEN
#
MENDER_SERVER_URL = "https://hosted.mender.io"
MENDER_TENANT_TOKEN = "<copy token here>"
Building the image
You can now proceed with building an image:
bitbake core-image-base
Replace core-image-base with your desired image target.
Using the build output
After a successful build, the images and build artifacts are placed in build/tmp/deploy/images/imx8mmevk/.
build/tmp/deploy/images/imx8mmevk/core-image-base-imx8mmevk.sdimgbuild/tmp/deploy/images/imx8mmevk/core-image-base-imx8mmevk.mender
The disk image (with .sdimg suffix) is used to provision the device storage for devices without Mender running already. Please proceed to the official documentation on provisioning a new device for steps to do this.
On the other hand, if you already have Mender running on your device and want to deploy a rootfs update using this build, you should use the Mender Artifact files, which have .mender suffix. You can either deploy this Artifact in managed mode with the Mender server (upload it under Releases in the server UI) or by using the Mender client standalone mode.
References
- The sources of the Yocto integration can be found in meta-mender-community/meta-mender-imx
- Secure Over-the-Air Prototype for Linux Using CAAM and Mender
If this post was useful to you, please press like, or leave a thank you note to the contributor who put valuable time into this and made it available to you. It will be much appreciated!