# Beaglebone Black Debian
**URL:** https://hub.mender.io/t/beaglebone-black-debian/1542
**Category:** Debian family
**Created:** [February 14, 2020, 9:36am UTC](https://hub.mender.io/t/beaglebone-black-debian/1542 "2020-02-14T09:36:22Z")
**Posts on this page:** 1
**Page:** 1
### Author:  [@mirzak](https://hub.mender.io/u/mirzak)
#### Post date: [February 14, 2020, 9:36am UTC](https://hub.mender.io/t/beaglebone-black-debian/1542/1 "2020-02-14T09:36:22Z")
# Board description
BeagleBone Black is a low-cost, community-supported development platform for developers and hobbyists. Boot Linux in under 10 seconds and get started on development in less than 5 minutes with just a single USB cable.
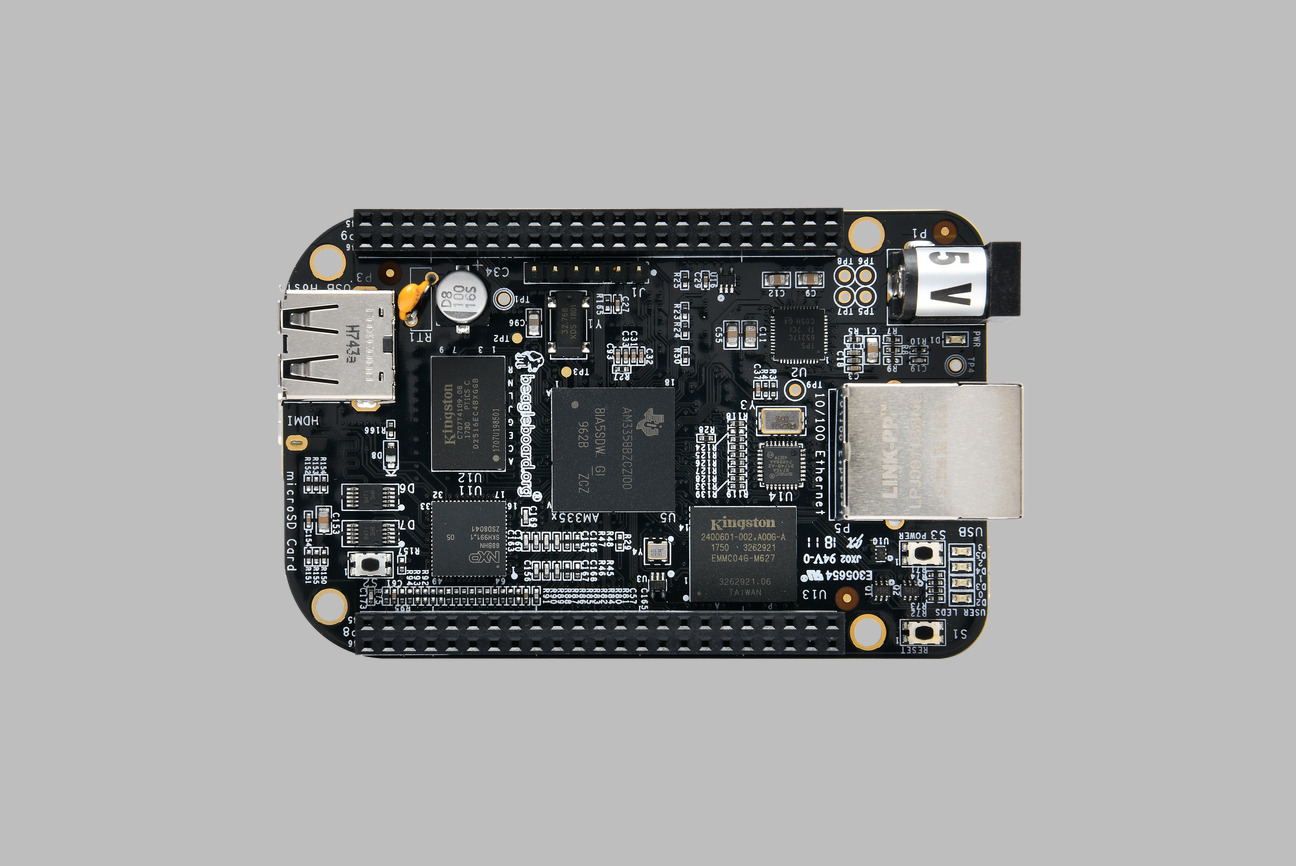
URL: [https://beagleboard.org/black](https://beagleboard.org/black)
Wiki: [https://elinux.org/Beagleboard:BeagleBoneBlack](https://elinux.org/Beagleboard:BeagleBoneBlack)
# Test results
The Debian releases in the table below have been tested by the Mender community. Please update it if you have tested this integration on other [Debian releases](https://beagleboard.org/latest-images):
| Debian | Build | Runtime |
| --- | --- | --- |
| bone-debian-10.3-iot-armhf-2020-04-06-4gb | :test_works: | :test_works: |
**Build** Means that the image generation completes without errors and outputs images.
**Runtime** Means that Mender has been verified to work on the board.
# Getting started
## Convert your own image
### Prerequisites
- A Linux-based laptop/workstation (Ubuntu has been verified to work)
- You need to [install Docker Engine](https://docs.docker.com/install) to use
this tutorial
### Build Docker image for `mender-convert`
Open a terminal and clone the [mender-convert repository](https://github.com/mendersoftware/mender-convert), e.g.
```bash
git clone -b 3.0.0 https://github.com/mendersoftware/mender-convert.git
```
Enter your `mender-convert` environment:
```bash
cd mender-convert
```
There is a utility script which can be used to generate the appropriate docker image to run `mender-convert`:
```bash
./docker-build
```
This will create a container image you can use to run `mender-convert`.
## Download the latest stable BeagleBone raw disk image
Download the raw BeagleBone disk image into a subdirectory `input`:
```bash
mkdir -p input
cd input
wget https://debian.beagleboard.org/images/bone-debian-10.3-iot-armhf-2020-04-06-4gb.img.xz
```
Extract the raw BeagleBone disk image:
```bash
xz -d bone-debian-10.3-iot-armhf-2020-04-06-4gb.img.xz && cd ..
```
### Convert the Beaglebone disk image to support Mender
With the raw disk image and the container configured above, we can convert the
image.
You can get your hosted Mender tenant token at the [My organization page in hosted Mender](https://hosted.mender.io/ui/#/settings/my-organization).
Configure the Mender client for hosted Mender server:
```bash
./scripts/bootstrap-rootfs-overlay-hosted-server.sh \
--output-dir ${PWD}/input/rootfs_overlay_demo \
--tenant-token "Paste token from hosted Mender"
```
There are additional scripts in the `scripts/` directory to configure with a local demo server, or production server.
Run mender-convert inside the container by running:
```bash
MENDER_ARTIFACT_NAME=release-1 ./docker-mender-convert \
--disk-image input/bone-debian-10.3-iot-armhf-2020-04-06-4gb.img \
--config configs/beaglebone_black_debian_sdcard_config \
--overlay ./input/rootfs_overlay_demo
```
Conversion will take 10-15 minutes, depending on your storage and resources available.
**NOTE**!
You will need an SD card with an capacity of at least **8GB** when using the default arguments. The SD card layout will be the following using the default arguments:
| Part | Type | Purpose | Size | Configure size |
| --- | --- | --- | --- | --- |
| mmcblk0p1 | vfat | Store the bootloader | 40MB | `MENDER_BOOT_PART_SIZE_MB` |
| mmcblk0p2 | ext4 | Store the root file system and kernel (active) | 3908MB | `MENDER_STORAGE_TOTAL_SIZE_MB` [1](#footnote1) |
| mmcblk0p3 | ext4 | Store the root file system and kernel (inactive) | 3908MB | `MENDER_STORAGE_TOTAL_SIZE_MB` [1](#footnote1) |
| mmcblk0p4 | ext4 | Store persistent data, preserved during Mender updates. | 128MB | `MENDER_DATA_PART_SIZE_MB` [2](#footnote2) |
1. The rootfs partition size is calculated using the following formula:
```
(storage-total-size-mb - data-part-size-mb - boot-part-size) / 2
```
2. You rarely need to adjust the data part size using `MENDER_DATA_PART_SIZE_MB` as this will expanded on first boot to occupy the remaining free blocks of the SD card.
You can read more about the partition layout required for Mender [here](https://docs.mender.io/devices/general-system-requirements#partition-layout)
## Use the output images
After a successful conversion, the images and artifacts are:
- deploy/bone-debian-10.3-iot-armhf-2020-04-06-4gb-beaglebone-sdcard-mender.cfg
- deploy/bone-debian-10.3-iot-armhf-2020-04-06-4gb-beaglebone-sdcard-mender.ext4
- deploy/bone-debian-10.3-iot-armhf-2020-04-06-4gb-beaglebone-sdcard-mender.img
- deploy/bone-debian-10.3-iot-armhf-2020-04-06-4gb-beaglebone-sdcard-mender.mender
The disk image (with `.img` suffix) is used to provision the device storage for devices without Mender running already. You can write write the `img` image to an SD card using the following command:
```bash
cat deploy/bone-debian-10.3-iot-armhf-2020-04-06-4gb-beaglebone-sdcard-mender.img | sudo dd of= bs=4M && sudo sync
```
**Be careful! If you point to the wrong `` when executing the above command, you risk overwriting your workstation’s local or connected storage devices.**
On the other hand, if you already have Mender running on your device and want to deploy a rootfs update from this conversion, you should use the [Mender Artifact](https://docs.mender.io/architecture/mender-artifacts?target=_blank) files, which have `.mender` suffix. You can either deploy this Artifact in managed mode with the Mender server (upload it under Releases in the server UI) or by using the Mender client only in [Standalone deployments](https://docs.mender.io/architecture/standalone-deployments?target=_blank).
### Boot from the SD card and connect to your Mender server
Ensure your device has Internet connectivity (e.g. through Ethernet cable with DHCP support).
After provisioning a SD card with the converted disk image (`.sdimg`) above, boot your device from it.
After about 10 minutes, you should see your device Pending authorization under the Devices tab in your Mender server. Authorize your device to join your Mender server.
You can now deploy software updates to your device using the Mender server!
# An improved workflow to generate Artifacts
The workflow of using an emulated device works for testing purposes, but it might have some limitations as we are emulating and not logged in to a real device or user.
When working with real deployments the recommended workflow is to have one _golden device_, that has _not_ been converted to support Mender. On this device you carry out all the modifications you need, and then use the resulting SD card to create Mender Artifact files, in summary:
- flash vanilla Rasbian to the SD card
- boot the SD card, log in and make any modifications needed
- copy the SD card into an image on your workstation (e.g. using `dd`)
- run `mender-convert` with the `--disk-image` option to generate a Mender
Artifact (like above)
- upload the Artifact to your Mender server
- deploy it to your devices
Note that your golden device or SD card is not running Mender and is not modified during deployments. It is simply the “source” for generating the Artifacts that you deploy to the devices in the field.
# References
- The documentation on [Building a Mender Debian image](https://docs.mender.io/artifacts/debian-family) contains more information about using Mender with the Debian family of distributions.
- The official [Mender documentation](https://docs.mender.io/) explains how Mender works. This is simply a board-specific complement to the official documentation.
# Known issues
…
* * *
_If this post was useful to you, please press like, or leave a thank you note to the contributor who put valuable time into this and made it available to you. It will be much appreciated!_